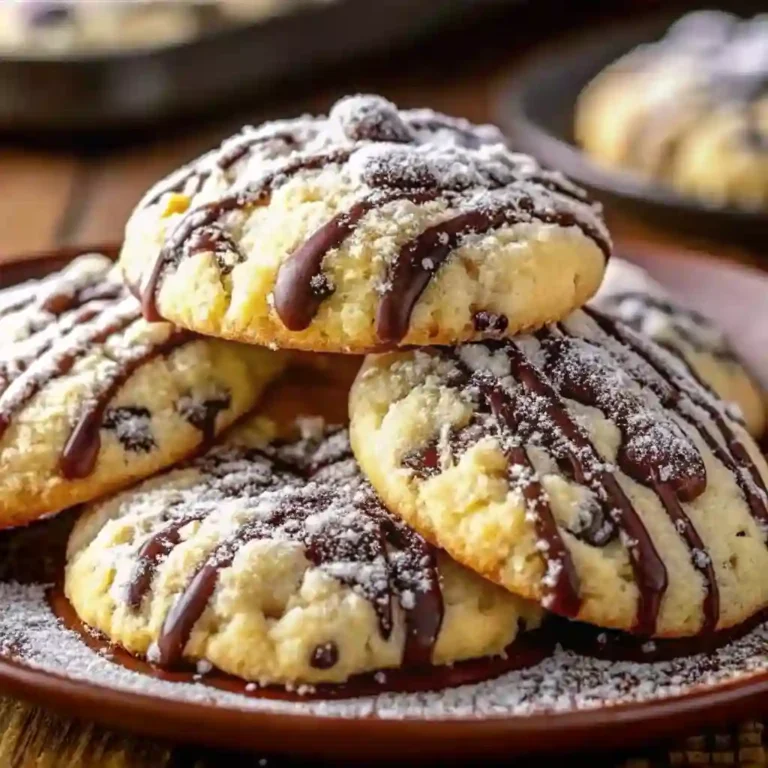
Chocolate Peppermint Blossoms
Introduction
I first discovered Chocolate Peppermint Blossoms one snowy December when a neighbor dropped a tin on my doorstep. The warm chocolate aroma and bright peppermint sting made me feel like a kid again, cheeks flushed from cold and hands sticky from sweet. I recreated the recipe the next weekend, tweaking the peppermint balance until it felt just right for my family gatherings.
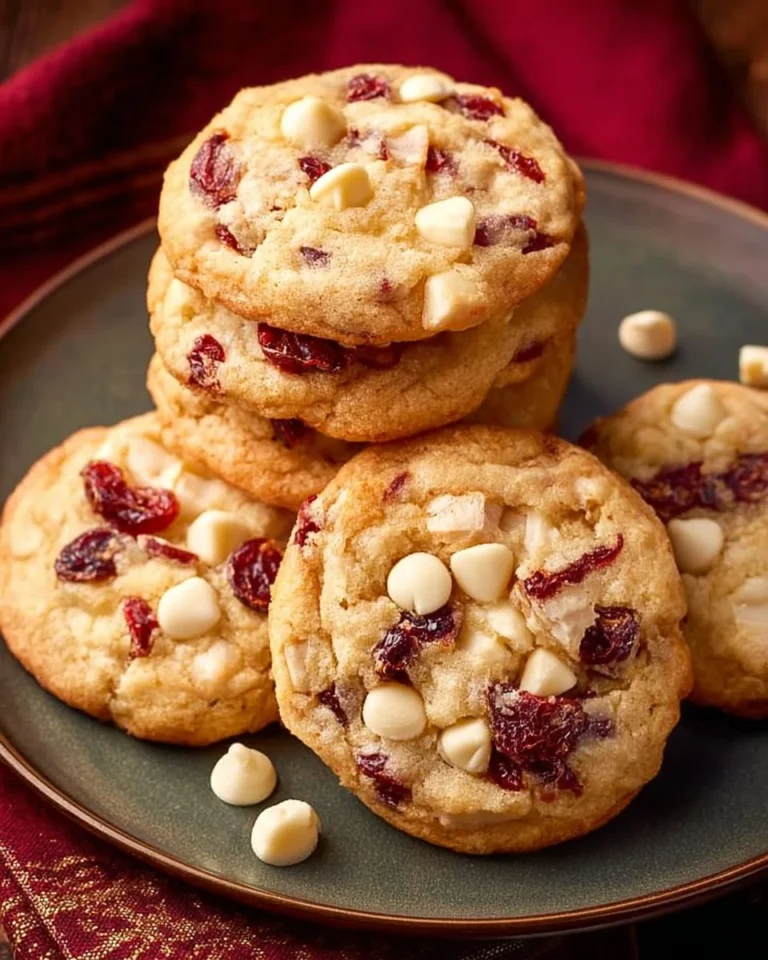
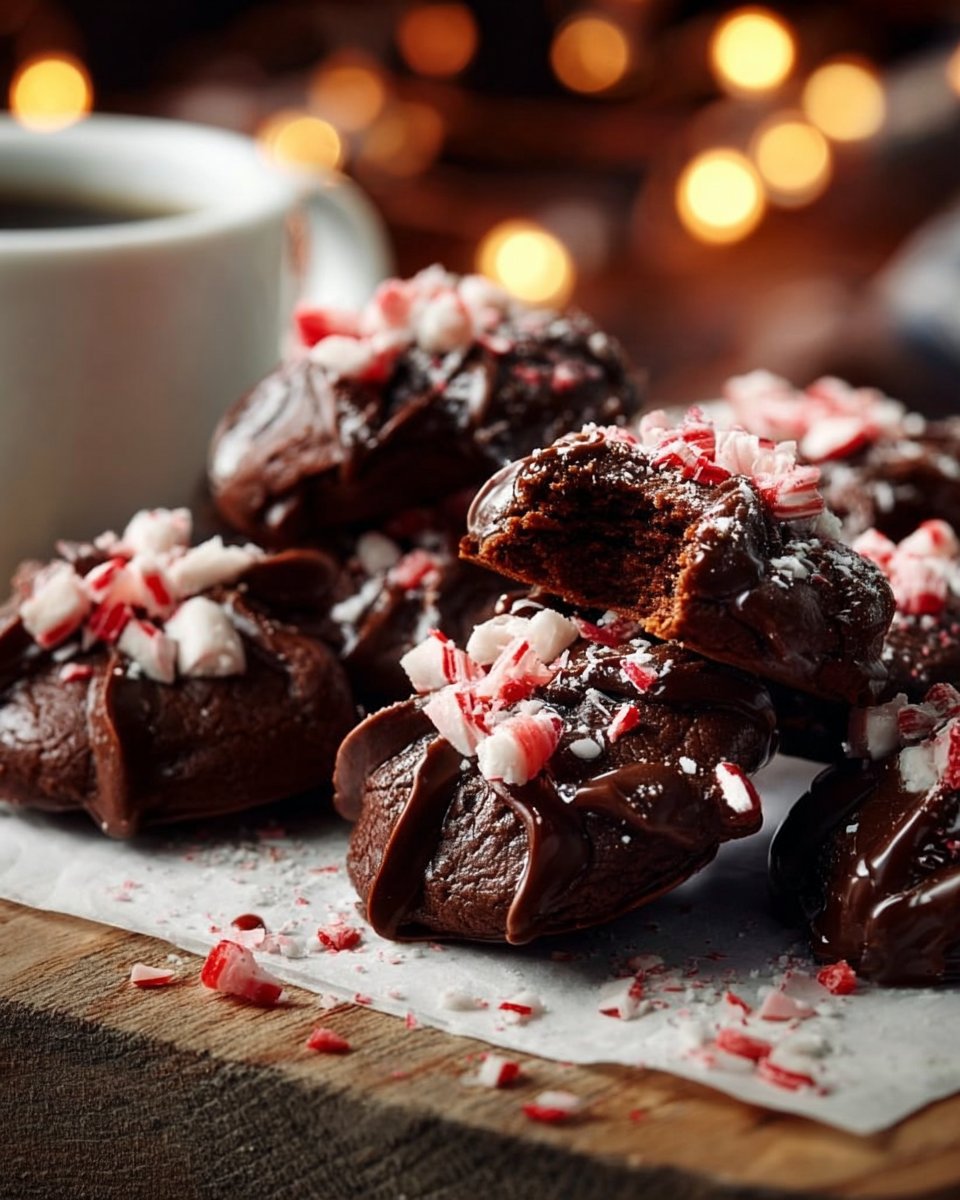
These cookies are all about contrasts: deep, fudgy chocolate meeting cool, crisp peppermint, and a tender center that holds a glossy chocolate kiss. If you enjoy warm, chocolate-forward cookie desserts, you might also like this skillet-style treat I make sometimes: Chocolate Chip Cookie Skillet.
What Makes This Recipe Special
Chocolate Peppermint Blossoms shine because they are quick, crowd-pleasing, and festive without being fussy. The dough is simple and forgiving, the peppermint adds a refreshing lift, and pressing a chocolate candy into the warm cookie creates that classic, irresistible look. This recipe is perfect for holiday parties, cookie swaps, or an uncomplicated weeknight dessert.
What You’ll Need
For about 36 cookies
For the Chocolate Cookie Dough
- 1 cup (226 g) unsalted butter, softened use fresh, room-temperature butter for best texture
- 1 cup (200 g) granulated sugar
- 1 cup (220 g) packed light brown sugar
- 2 large eggs, room temperature
- 1 teaspoon vanilla extract
- 2 1/4 cups (281 g) all-purpose flour, spooned and leveled
- 1/2 cup (50 g) unsweetened cocoa powder, sifted Dutch-process or natural both work
- 1 teaspoon baking soda
- 1/2 teaspoon salt
For the Peppermint Topping
- 36 peppermint-filled chocolate kisses or plain chocolate kisses, unwrapped
- 1 teaspoon peppermint extract (optional) or 1/2 cup finely crushed candy canes to roll cookies in
- 1/2 cup (60 g) powdered sugar for rolling (optional, for a snowy finish)
Notes on ingredients and substitutions
- For dairy-free: use vegan butter and dairy-free chocolate kisses.
- For gluten-free: substitute a 1:1 gluten-free flour blend and chill dough slightly longer to firm up.
- Freshness note: cocoa powder and baking soda are best if under 6 months old for full lift and flavor.
How to make Chocolate Peppermint Blossoms
Step 1: Prepare and chill
- Preheat the oven to 350°F (175°C). Line baking sheets with parchment paper.
- In a medium bowl, whisk together flour, cocoa, baking soda, and salt. Set aside.
Step 2: Cream the butter and sugars
- In a large bowl, beat butter, granulated sugar, and brown sugar on medium speed until light and fluffy, about 2 minutes. Scrape the bowl as needed.
Step 3: Add eggs and flavor
- Beat in the eggs one at a time, then stir in vanilla and peppermint extract if using. The dough will be glossy and slightly soft.
Step 4: Combine dry and wet
- Gradually add the dry ingredients to the wet, mixing until just combined. The dough should be soft but scoopable. If it feels very sticky, chill for 20 to 30 minutes.
Step 5: Scoop and roll
- Using a tablespoon or small cookie scoop, portion dough into 1-inch balls. Roll each briefly in powdered sugar or crushed candy canes if desired to coat.
Step 6: Bake
- Place dough balls 2 inches apart on prepared sheets. Bake at 350°F (175°C) for 8 to 10 minutes, until the edges are set and small cracks appear across the tops while centers still look slightly soft.
Step 7: Add the chocolate and cool
- Immediately press a peppermint chocolate kiss into the center of each warm cookie. The residual heat will soften the chocolate and create a smooth dome. Transfer cookies to a wire rack and let cool completely so the chocolate sets.
Visual cues
- Edges should look set and slightly firm; centers will appear a touch underbaked. Cracks across the tops are normal and desirable. Once cooled, the cookie will be tender but hold the chocolate piece.
Expert Tips & Ideas
- Use room-temperature eggs and butter for smooth creaming and even rise.
- Chill the dough if your kitchen is warm; chilled dough spreads less and yields thicker blossoms.
- For stronger peppermint flavor, add up to 1 1/2 teaspoons peppermint extract, but be careful as it can overpower the chocolate.
- To avoid flat cookies, measure flour accurately by spooning and leveling the cup.
- Make them ahead: store cooled cookies in an airtight container for up to 4 days at room temperature. Freeze for up to 3 months; thaw at room temperature.
- Variations: swap peppermint kisses for caramel-filled or plain milk chocolate for a different twist. For gluten-free or vegan options use appropriate subs.
- If you like a candy-cane crunch, roll half the dough balls in crushed candy canes before baking.
Best Ways to Serve
- Pair these cookies with a steaming mug of hot cocoa or a strong espresso to balance the peppermint.
- For a festive platter, alternate Chocolate Peppermint Blossoms with plain butter cookies and sprinkle fresh crushed candy canes on top.
- Presentation tip: place cookies in cupcake liners for a tidy, giftable look.
- Nutrition note: one cookie is approximately 120-150 calories depending on size and chocolate candy used. Serving size: 1 to 2 cookies per person for dessert.
Top Questions About This Recipe
Q: Can I make the dough ahead of time?
A: Yes. Refrigerate the dough for up to 48 hours or freeze scooped dough balls for up to 3 months. Bake straight from chilled or partially thawed.
Q: Can I substitute regular chocolate for peppermint kisses?
A: Absolutely. Plain milk or dark chocolate works well; add a pinch of peppermint extract to the dough if you want a hint of mint.
Q: How do I prevent the cookies from spreading too much?
A: Chill the dough for 20 to 30 minutes and avoid overcreaming the butter and sugar. Also, measure flour accurately.
Q: Can I make these without crushed sugar topping?
A: Yes. Rolling in powdered sugar gives a snowy look but is optional and does not affect bake quality.
Q: Are these cookies suitable for a cookie exchange?
A: Yes. They travel well if stored in a single layer or with parchment between layers.
“These became my go-to holiday cookie the year I made them. The peppermint spark cuts through the richness of the chocolate and everyone asked for the recipe. A true classic.” – A happy baker
Conclusion
These Chocolate Peppermint Blossoms are a warm, joyful recipe I reach for when I want to share something classic with a minty twist. They are simple to prepare, adaptable, and always a hit at gatherings. For another version or inspiration, check out this charming take from Chocolate Peppermint Blossoms – In Bloom Bakery, and for a different holiday cookie idea see Chocolate Peppermint Blossoms – Garnish & Glaze. I hope you try this recipe, tweak it to your taste, and share it with friends and family. Please leave a comment sharing how yours turned out.
Chocolate Peppermint Blossoms
Ingredients
Method
- Preheat the oven to 350°F (175°C). Line baking sheets with parchment paper.
- In a medium bowl, whisk together flour, cocoa, baking soda, and salt. Set aside.
- In a large bowl, beat butter, granulated sugar, and brown sugar on medium speed until light and fluffy, about 2 minutes. Scrape the bowl as needed.
- Beat in the eggs one at a time, then stir in vanilla and peppermint extract if using. The dough will be glossy and slightly soft.
- Gradually add the dry ingredients to the wet, mixing until just combined. The dough should be soft but scoopable. If it feels very sticky, chill for 20 to 30 minutes.
- Using a tablespoon or small cookie scoop, portion dough into 1-inch balls. Roll each briefly in powdered sugar or crushed candy canes if desired to coat.
- Place dough balls 2 inches apart on prepared sheets. Bake at 350°F (175°C) for 8 to 10 minutes, until the edges are set and small cracks appear across the tops while centers still look slightly soft.
- Immediately press a peppermint chocolate kiss into the center of each warm cookie. The residual heat will soften the chocolate and create a smooth dome.
- Transfer cookies to a wire rack and let cool completely so the chocolate sets.
Notes
- Hearty Hobo Casserole - January 13, 2026
- Classic Avgolemono (Greek Egg and Lemon Soup) - January 11, 2026
- Moist Chocolate Peanut Butter Poke Cake - January 4, 2026