Cheese Ball
Introduction
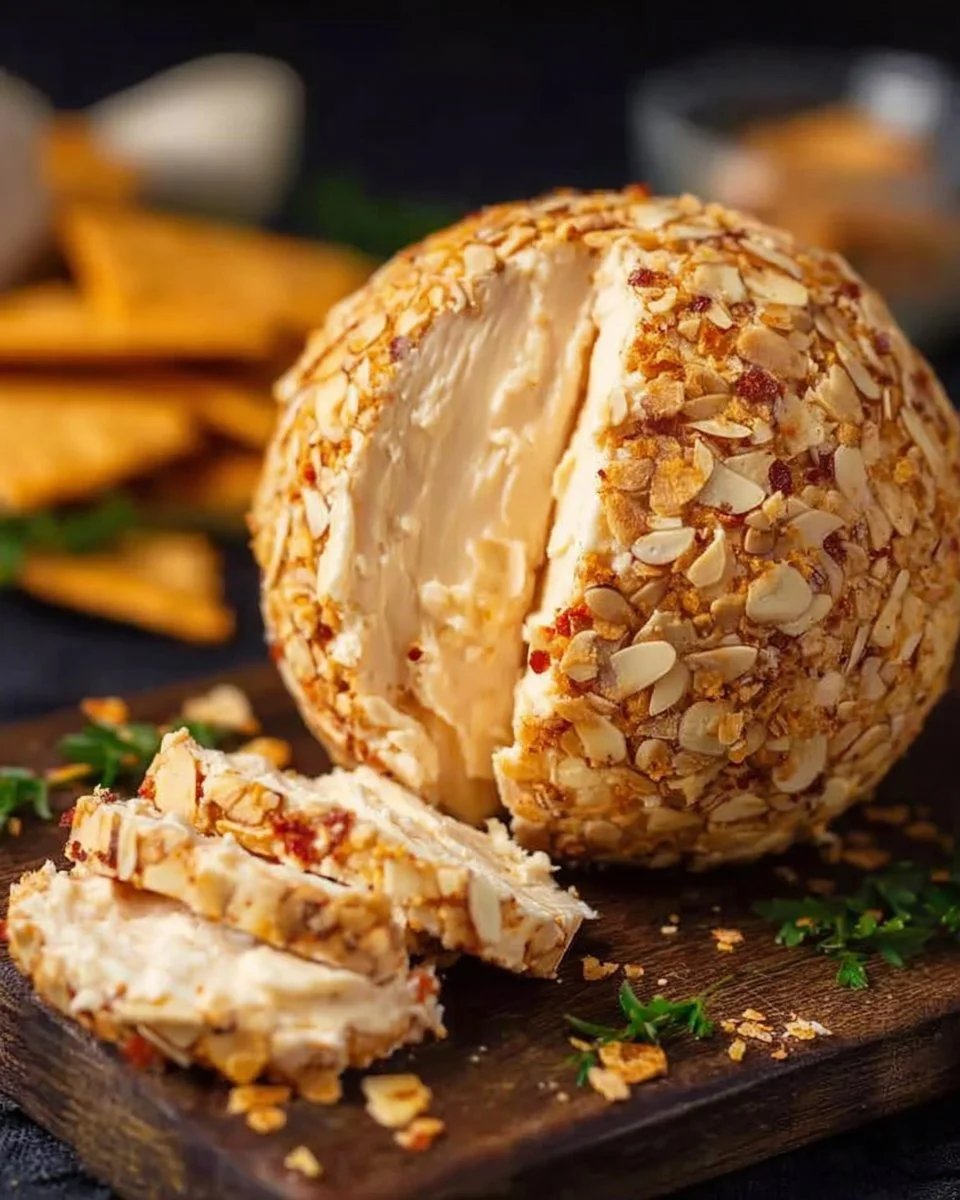
I first made this cheese ball on a chilly December evening when friends arrived unannounced and my pantry offered more inspiration than time. The warm kitchen smelled of sharp cheddar and toasted nuts as I mashed soft cream cheese with a wooden spoon, remembering how my grandmother would laugh and pinch off a sample. That first bite creamy, tangy, and studded with crunchy pecans felt like a cozy hug. Over the years this simple Cheese Ball has become my go-to for last-minute gatherings and slow, lingering conversations.
I love how it looks festive without demanding hours of work. If you enjoy easy, crowd-pleasing appetizers, you might also like this playful twist on a dessert appetizer I used at brunch: air-fryer cherry cheesecake egg rolls.
What Makes This Recipe Special
This cheese ball is special because it balances creamy, sharp, and crunchy textures in every bite. It is:
- Quick to assemble for busy hosts.
- Flexible with ingredients so you can tailor it to dietary needs.
- Ideal for holidays and casual get-togethers because it travels and holds up well on a party table.
The combination of cream cheese and aged cheddar creates a rich base while fresh herbs and spices add brightness. The outer coating chopped nuts or herbs gives that satisfying contrast everyone remembers.
Ingredients You’ll Need
For the Ball
- 8 ounces (225 g) cream cheese, softened to room temperature (use full-fat for best texture)
- 1 cup (115 g) shredded sharp cheddar cheese, packed
- 1/2 cup (55 g) shredded Monterey Jack or mozzarella
- 2 tablespoons finely chopped green onions (scallions), white and green parts
- 1 teaspoon Worcestershire sauce
- 1/2 teaspoon garlic powder
- 1/4 teaspoon freshly ground black pepper
- 1/4 cup finely chopped cooked bacon or 2 tablespoons bacon bits (optional)
For the Coating
- 1/2 cup (60 g) finely chopped pecans, walnuts, or pecan-pepita mix (toast lightly for more flavor)
- 2 tablespoons chopped fresh parsley or chives for color
- 1/2 teaspoon smoked paprika (optional, for color and warmth)
For Serving
- 1 box assorted crackers or a sliced baguette
- Fresh vegetable sticks: celery, carrots, cucumber slices
Notes on quality and substitutions:
- Use freshly grated cheese for the best melt-in-your-mouth texture. Pre-shredded cheese contains anti-caking agents that can affect creaminess.
- For a lighter version, substitute half the cream cheese with plain Greek yogurt (expect a slightly tangier flavor).
- To make a vegetarian version, omit bacon and use extra herbs or chopped sun-dried tomatoes.
- For a dairy-free version, try a firm vegan cream cheese and plant-based shredded cheese, but chill longer to firm up.
Also consider pairing the herb coating with stuffed fruit for contrast like baked pears and blue cheese for a different party course: baked pear with berries and blue cheese.
How to make Cheese Ball
Step 1: Soften and mix (5 minutes)
- Place the softened cream cheese in a medium bowl. Use an electric mixer or a sturdy wooden spoon to beat until very smooth, about 1 to 2 minutes.
- Add shredded cheddar and Monterey Jack and beat until just combined. The mixture should be thick, cohesive, and slightly springy.
Step 2: Season and combine (2 minutes)
- Stir in green onions, Worcestershire sauce, garlic powder, pepper, and cooked bacon (if using). Taste and adjust salt and pepper.
- The mixture should be flavorful but not salty. If too loose, add a tablespoon of finely grated parmesan to firm it.
Step 3: Shape and chill (5 minutes active, 2 hours chill)
- Spoon the cheese mixture onto a large sheet of plastic wrap. Bring the edges together and shape into a smooth ball with your hands through the wrap.
- Twist the wrap tightly, then refrigerate for at least 2 hours or up to overnight. Chilling firms the ball so it holds shape and slices cleanly.
Step 4: Prepare the coating and finish (5 minutes)
- Combine chopped nuts, parsley, and smoked paprika on a plate.
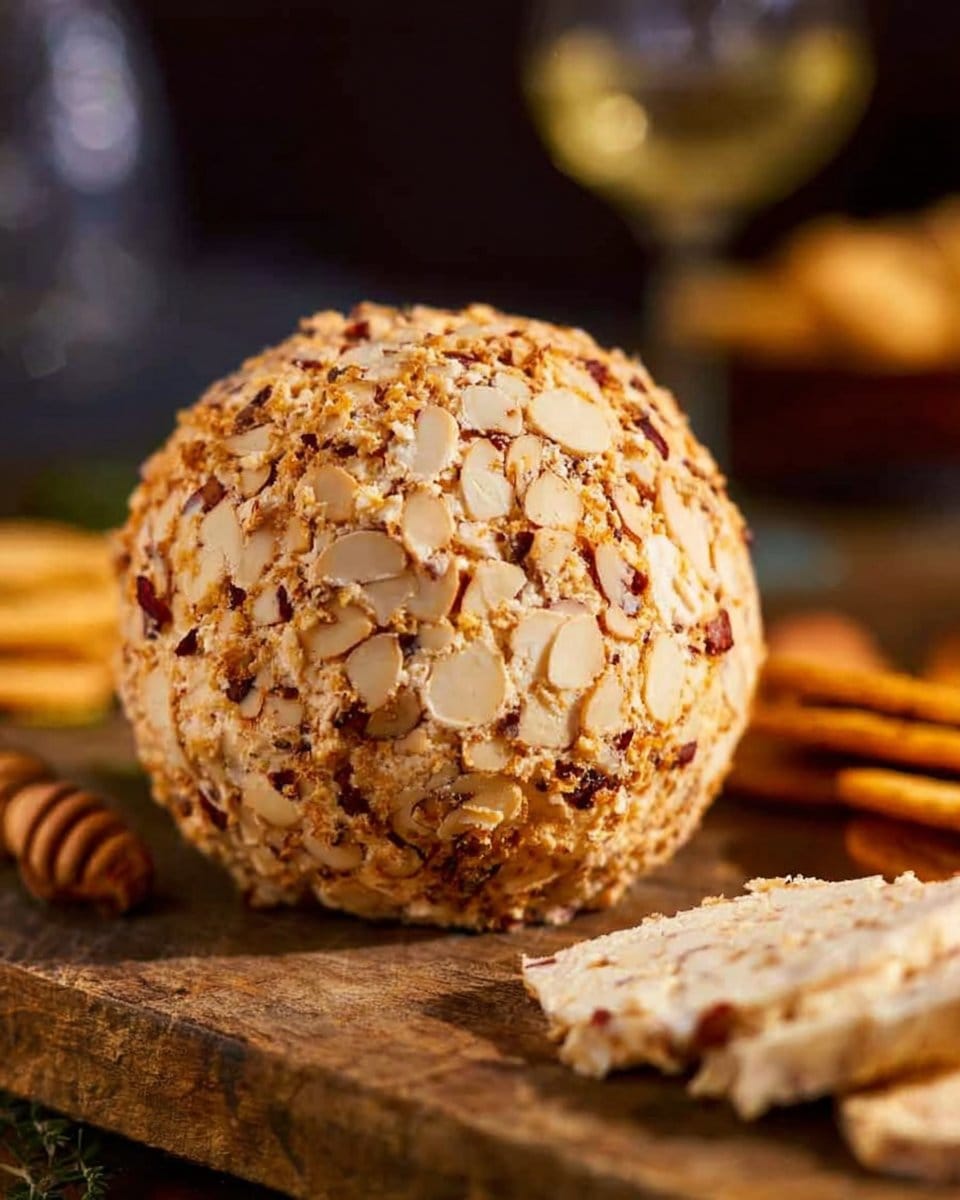
- Unwrap the chilled cheese ball and place it in the nut mixture. Press gently with your hands so the nuts adhere evenly. The surface should be fully coated and visually appealing.
Step 5: Bring to serving temperature (20–30 minutes before serving)
- Remove the cheese ball from the refrigerator 20 to 30 minutes before serving so it softens slightly for easy spreading. It should be firm yet spreadable at room temperature.
Visual cues:
- Smooth, uniform cheese mixture before chilling.
- Firm ball after chilling; coating should stick without sliding off.
- Softened but still cohesive texture when ready to serve.
Tips & Recipe Variations
- Use an electric mixer for a silkier base, but a spoon works fine for a rustic texture.
- Toast nuts lightly in a dry skillet for 3 to 5 minutes until fragrant to deepen flavor.
- Add 1 tablespoon of honey and 2 tablespoons chopped dried cranberries for a sweet-savory holiday variation.
- For a spicy version, fold in 1 finely chopped jalapeño and serve with tortilla chips.
- Make ahead: Shape and coat up to 24 hours in advance. Keep covered in the refrigerator.
- Freezing: Wrap tightly and freeze up to 1 month. Thaw overnight in the refrigerator, then rest at room temperature 30 minutes before serving.
- Low-carb option: Use crushed pork rinds or almond flour mixed with herbs as a coating.
- Avoid overmixing shredded cheese to prevent a gummy texture.
Best Ways to Serve
- Arrange the cheese ball on a wooden board with crackers, toasted baguette slices, and colorful vegetable sticks for a textured presentation.
- Pair with chilled white wine like Sauvignon Blanc, a crisp rosé, or a light beer. For a festive spread, include grapes and cured meats.
- Serving size: plan on about 2 to 3 ounces per person as an appetizer.
- Nutrition note: this recipe is rich in protein and fat; using part-skim cheeses reduces calories slightly.
Presentation tip:
- Garnish the top with a few whole nuts or fresh herbs for an elegant finish. Serve on a small pedestal or decorative plate to make it the centerpiece of your appetizer table.
Frequently Asked Questions
Q: Can I make this recipe ahead of time?
A: Yes. Make and coat the cheese ball up to 24 hours ahead and keep covered in the refrigerator. Remove 20 to 30 minutes before serving.
Q: Can I freeze the cheese ball?
A: Yes. Wrap tightly in plastic wrap and foil and freeze up to one month. Thaw in the refrigerator overnight, then sit at room temperature before serving.
Q: What can I use instead of pecans?
A: Walnuts, almonds, pistachios, or a herb-panko mixture are excellent substitutes. For nut allergies, try crushed crackers or seeds.
Q: How do I prevent the cheese ball from becoming watery?
A: Use room-temperature cream cheese and freshly grated cheeses. If using yogurt, strain excess whey first. Avoid adding high-water ingredients without draining.
Q: Can I make this dairy-free?
A: Yes, use a firm vegan cream cheese and plant-based shredded cheese blends. Texture may be slightly different, so chill longer to firm.
Reader Review
“This cheese ball stole the show at our family reunion. Creamy and tangy with the perfect crunch outside. Guests asked for the recipe and seconds. It was the easiest crowd-pleaser I have ever made.” — Mia R.
Conclusion
This cheese ball is a simple, comforting recipe that brings people together with minimal fuss and maximum flavor. If you want to explore classic or alternative takes on cheese ball recipes for inspiration, check out this classic cheese ball recipe and this easy cheese ball recipe for other twists on the idea. I hope you make one soon, share it with friends, and tell me which coating or flavor you loved most.

Cheese Ball
Ingredients
Method
- Place the softened cream cheese in a medium bowl. Use an electric mixer or a sturdy wooden spoon to beat until very smooth, about 1 to 2 minutes.
- Add shredded cheddar and Monterey Jack and beat until just combined. The mixture should be thick, cohesive, and slightly springy.
- Stir in green onions, Worcestershire sauce, garlic powder, pepper, and cooked bacon (if using). Taste and adjust salt and pepper.
- Spoon the cheese mixture onto a large sheet of plastic wrap. Bring the edges together and shape into a smooth ball with your hands through the wrap.
- Twist the wrap tightly, then refrigerate for at least 2 hours or up to overnight.
- Combine chopped nuts, parsley, and smoked paprika on a plate.
- Unwrap the chilled cheese ball and place it in the nut mixture. Press gently with your hands so the nuts adhere evenly.
- Remove the cheese ball from the refrigerator 20 to 30 minutes before serving so it softens slightly for easy spreading.
Notes
- Easy Lasagna Soup Recipe | Quick & Hearty 40-Minute Meal - January 13, 2026
- Authentic Greek Moussaka - January 5, 2026
- Strawberry Heaven on Earth Cake - January 4, 2026