Oreo Cookies
Introduction
Growing up, one of my fondest childhood memories involved countless afternoons spent in the kitchen with my mom, baking various treats. But there was always a special focus on one beloved classic: Oreo cookies. The sound of cracking open a package, the tantalizing aroma wafting through the air, and the thrill of pairing those cookie halves together filled my heart with joy. This recipe captures that nostalgic essence and transforms it into homemade bliss, where each bite brings back those cherished memories. What makes these Oreo cookies special for me is that they unite simplicity with indulgence it’s a delightful treat that brings people together, whether at family gatherings or cozy nights in.
What Makes This Recipe Special
These homemade Oreo cookies stand apart from the store-bought versions, not just in taste but also in the joy of creation. With rich dark cocoa, creamy filling, and a satisfying crunch, they are perfect for any occasion. This recipe is simple, quick, and a hit among family and friends, ensuring you’ll be the hero of your next baking adventure. Their appeal doesn’t stop there; they can be tailored for various dietary needs and are remarkably easy to make, allowing you to share this homemade goodness with everyone. Fresh out of the oven, they create delightful memories that last long after the last cookie is gone.
Ingredients You’ll Need
For the Cookies:
- 1 ¾ cups all-purpose flour
- ¾ cup unsweetened cocoa powder (good quality for richer flavor)
- 1 teaspoon baking soda
- ½ teaspoon baking powder
- ½ teaspoon salt
- 1 cup unsalted butter, softened
- 1 ½ cups granulated sugar
- 1 large egg
- 1 teaspoon pure vanilla extract
For the Filling:
- 1 cup unsalted butter, softened
- 4 cups powdered sugar (sifted for smoothness)
- 2 teaspoons vanilla extract
- 2 tablespoons heavy cream or milk (adjust for desired consistency)
How to Make Oreo Cookies
Step 1: Preheat your oven to 350°F (175°C). Line two baking sheets with parchment paper.
Step 2: Combine Dry Ingredients: In a medium bowl, whisk together the flour, cocoa powder, baking soda, baking powder, and salt. Set aside.
Step 3: Cream Butter and Sugar: In a large mixing bowl, cream the softened butter and granulated sugar until light and fluffy, about 3-5 minutes.
Step 4: Add Egg and Vanilla: Beat in the egg and vanilla extract until well combined.
Step 5: Incorporate Dry Ingredients: Gradually add the dry mixture to the wet ingredients, mixing until just combined. The dough should be thick and slightly crumbly.
Step 6: Shape and Bake: Scoop tablespoon-sized amounts of dough and roll them into balls. Place them on the prepared baking sheets, spacing them about 2 inches apart. Flatten each ball slightly. Bake for 8-10 minutes, until the edges are set. Let them cool on the baking sheet for 5 minutes before transferring them to a wire rack.
Step 7: Make the Filling: In a mixing bowl, beat the softened butter, powdered sugar, vanilla extract, and heavy cream until creamy and fluffy. Adjust the consistency by adding more cream if necessary.
Step 8: Assemble Cookies: Once the cookies are cool, spread a generous amount of filling on the flat side of one cookie and sandwich it with another cookie, pressing slightly. Repeat with the remaining cookies.
Tips & Recipe Variations
- Quality Ingredients: Use high-quality cocoa powder for a more intense chocolate flavor.
- Dietary Adaptations: For a gluten-free version, swap all-purpose flour with a gluten-free blend.
- Creative Fillings: Try experimenting with flavored extracts (e.g., peppermint or almond) or add a dash of espresso powder for an adult twist.
- Storage: Keep in an airtight container at room temperature for up to one week, or freeze them for up to three months.
How to Serve
These Oreo cookies shine on their own, but they really pop when paired with a glass of cold milk or a scoop of vanilla ice cream. For a fun twist, consider crumbling them over a bowl of ice cream or serving them as part of a dessert platter along with fresh fruit and chocolate sauce. Presentation can elevate them: stack cookies neatly on a colorful plate, garnish with mint leaves, or place them in a clear jar for a rustic touch.
Common Questions
Can I make this recipe ahead of time?
Yes, you can prepare the cookie dough in advance and refrigerate it for up to 48 hours. Just allow it to come to room temperature before baking.
Can I freeze the leftovers?
Absolutely! Store the assembled cookies in an airtight container with layers of parchment paper in between to prevent sticking. They can be frozen for up to three months.
What can I use instead of butter?
You can substitute the butter with coconut oil or a plant-based butter for a dairy-free option.
Conclusion
Every cookie tells a story, and these homemade Oreo cookies are a testament to the joy of baking and sharing. There’s something inherently special about sitting down with a plate of freshly made cookies and enjoying the laughter and memories that accompany them. I hope you’ll take the time to embrace this recipe, create your own magic, and share these delightful cookies with your loved ones. I can’t wait to hear how they turn out for you please share your experiences and results!
“These homemade Oreo cookies brought back so many nostalgic memories from my childhood. They taste even better than the store-bought ones! I loved how easy it was to make them, and my family couldn’t stop raving about them!”
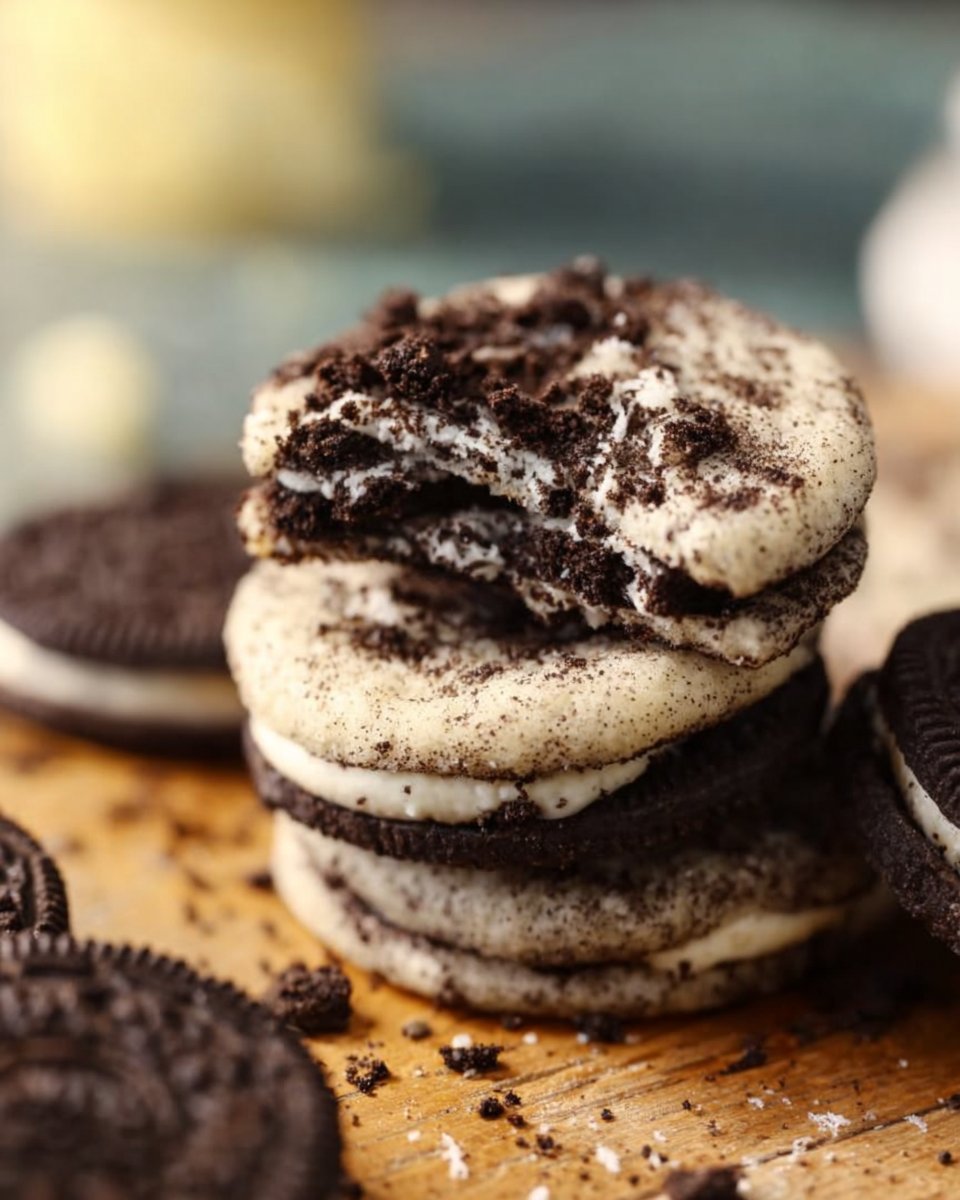
Homemade Oreo Cookies
Ingredients
Method
- Preheat your oven to 350°F (175°C). Line two baking sheets with parchment paper.
- In a medium bowl, whisk together the flour, cocoa powder, baking soda, baking powder, and salt. Set aside.
- In a large mixing bowl, cream the softened butter and granulated sugar until light and fluffy, about 3-5 minutes.
- Beat in the egg and vanilla extract until well combined.
- Gradually add the dry mixture to the wet ingredients, mixing until just combined. The dough should be thick and slightly crumbly.
- Scoop tablespoon-sized amounts of dough and roll them into balls. Place them on the prepared baking sheets, spacing them about 2 inches apart. Flatten each ball slightly.
- Bake for 8-10 minutes, until the edges are set. Let them cool on the baking sheet for 5 minutes before transferring them to a wire rack.
- In a mixing bowl, beat the softened butter, powdered sugar, vanilla extract, and heavy cream until creamy and fluffy. Adjust the consistency by adding more cream if necessary.
- Once the cookies are cool, spread a generous amount of filling on the flat side of one cookie and sandwich it with another cookie, pressing slightly. Repeat with the remaining cookies.
Notes

- Vegan Love Letter Pastries: Flaky Strawberry Jam Envelopes - January 16, 2026
- Beefy American Goulash - January 13, 2026
- Authentic Tom Kha Gai Soup Recipe - January 11, 2026