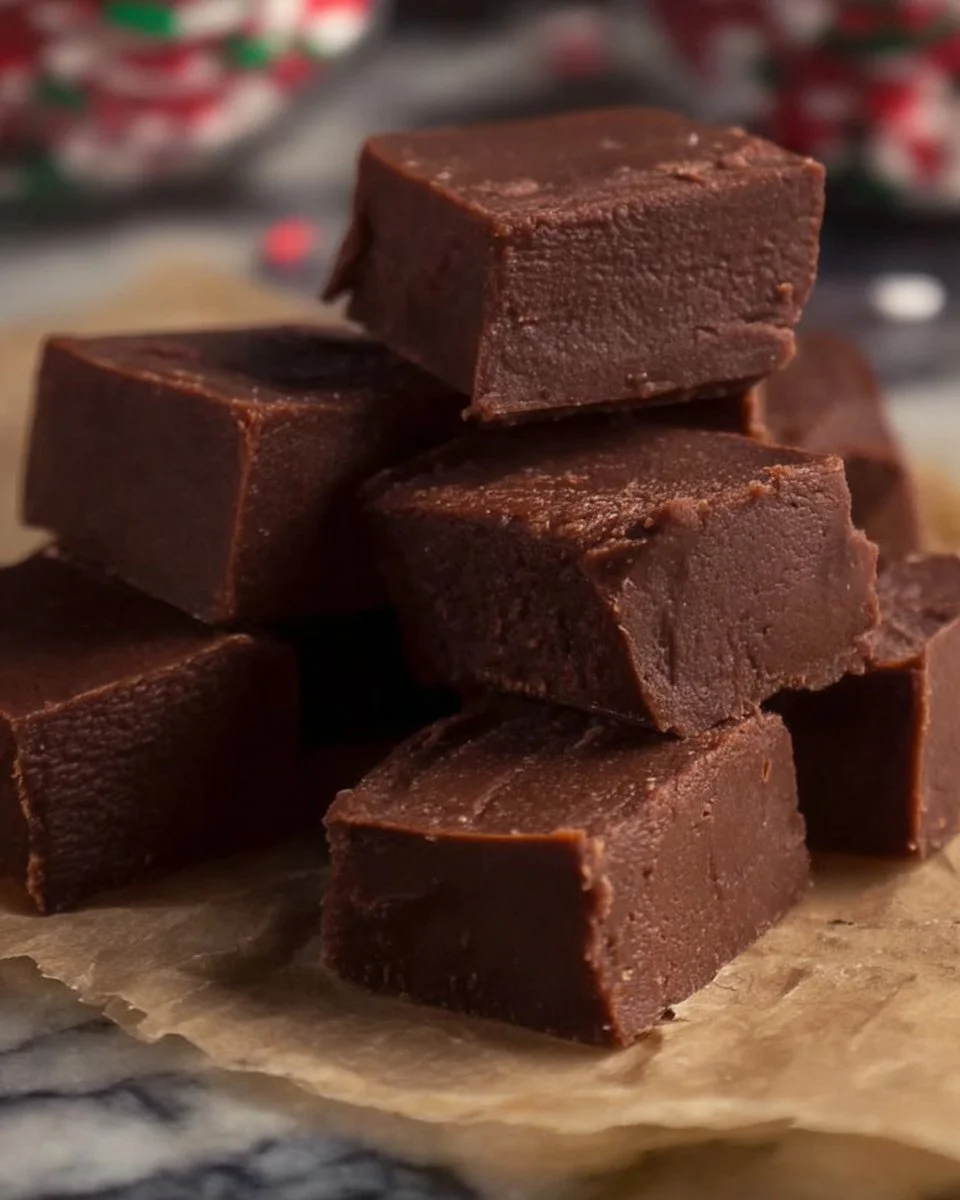
Homemade Chocolate Fudge
Introduction
There’s something magical about the afternoon sun streaming through the kitchen window while the scent of chocolate fills the air. My journey to perfecting Homemade Chocolate Fudge began years ago, sitting on the floor of my grandmother’s warm kitchen, surrounded by giggles and the rich aroma of melting chocolate. As a family, we often celebrated birthdays and wintry holidays with her delectable fudge, a recipe that was a treasured secret for generations.
As I grew up, I realized that those simple, sweet moments of joy were what made the fudge so special. It wasn’t just a treat; it was a way to create lasting memories with loved ones, bringing us together with every rich, gooey bite.
What makes this recipe particularly meaningful is how it has transcended generations in my family. It’s not just fudge; it’s love, laughter, and the embodiment of home. Every time I make this fudge, I can almost hear my grandmother’s laughter, see her warm smile, and feel her gentle spirit beside me. I invite you to recreate this magic in your own kitchen and experience the joy of sharing a timeless tradition with those you hold dear.
What Makes This Recipe Special
This Homemade Chocolate Fudge recipe shines for its wonderful blend of simplicity and satisfaction. It comes together quickly, requiring minimal ingredients that are likely already in your pantry, making it perfect for both everyday snacking and special occasions. Easy enough for beginners yet so satisfying that even seasoned bakers will love it, this fudge doesn’t require complex techniques or lengthy preparation times.
Not only is it a delicious indulgence, but it’s also a great opportunity to bond with family and friends as you mix, pour, and wait for it to set. Each bite is a reminder of warmth and nostalgia, making it a recipe that’s bound to become a family favorite in your own home.

Ingredient List
For the Fudge:
- 2 cups semi-sweet chocolate chips (choose high-quality for a richer flavor)
- 1 can (14 oz) sweetened condensed milk
- 1/4 cup unsalted butter
For the Topping (optional):
- 1/2 cup chopped nuts (walnuts or pecans work beautifully)
- Sea salt to sprinkle on top
- A drizzle of melted chocolate
How to Make Homemade Chocolate Fudge
- Prepare the Pan: Line an 8-inch square baking dish with parchment paper, leaving some overhang for easy removal. This will ensure easy serving of your fudge once set.
- Melt the Ingredients: In a saucepan over medium heat, combine the chocolate chips, sweetened condensed milk, and butter. Stir continuously until the mixture is smooth and creamy, making sure it doesn’t burn. This usually takes about 5 to 7 minutes.
- Pour into Pan: Once your mixture is fully melted and combined, carefully pour it into the prepared baking dish. Use a spatula to evenly spread it across the pan.
- Add Toppings: If you’re using nuts or want to sprinkle a bit of sea salt, do so at this stage while the fudge is still warm, pressing them lightly into the surface.
- Chill: Place your dish in the refrigerator and let it chill for at least 2 hours or until fully set. When it’s ready, you should be able to gently pull on the parchment paper to lift it out of the pan.
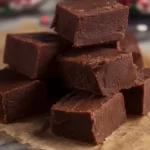
- Cut and Serve: Once cooled, slice the fudge into squares and enjoy! Store any leftovers in an airtight container at room temperature or in the refrigerator for longer freshness.
Tips & Recipe Variations
- Mix up the Chocolate: Swap semi-sweet chips for milk chocolate or dark chocolate based on your preference.
- Add Flavoring: A splash of vanilla extract or a hint of espresso powder can elevate the flavor.
- Creative Add-ins: Dried fruits, coconut flakes, or a swirl of peanut butter can add an exciting twist.
- Storage Tips: The fudge can be stored in an airtight container for up to a week. For longer shelf life, consider refrigerating it.
- Freezing: You can also freeze chocolate fudge! Just wrap individual squares in plastic wrap and place them inside a freezer bag for up to three months.
How to Serve
For the best experience, cut your Homemade Chocolate Fudge into bite-sized squares and serve on a pretty plate. Consider pairing it with a scoop of vanilla ice cream or a dollop of whipped cream for an indulgent dessert. A steaming cup of coffee or a glass of cold milk works wonderfully as a beverage accompaniment.
For presentations, you might add a pinch of sea salt on top or a drizzle of melted chocolate for that gourmet touch. Remember, first impressions count, so ensure each square is neatly cut and has a smooth edge.
Common Questions
- Can I make this recipe ahead of time?
- Absolutely! The fudge can be made a few days in advance and stored in the fridge.
- Can I freeze the leftovers?
- Yes! Just ensure it’s wrapped well and consumed within three months for the best taste.
- What can I use instead of sweetened condensed milk?
- You can use a homemade version by simmering regular milk and sugar until it thickens, or try coconut milk for a dairy-free option.
- How do I prevent the fudge from becoming cloudy?
- Make sure you stir continuously while melting and don’t overheat the mixture to preserve that nice glossy finish.
- Can I make this vegetarian or dairy-free?
- Use coconut condensed milk and dairy-free chocolate chips, and you’ll have a delicious vegetarian or dairy-free treat!
Ending this culinary journey, I find that Homemade Chocolate Fudge embodies the essence of togetherness and the joy of delicious moments shared. It’s a simple recipe, yet filled with emotion and connection. I encourage you to give it a try, create your own memories, and maybe even share them with me! Happy baking!
“This fudge is absolutely to die for! It melts in your mouth, and the flavor is spot on. I’ve never made fudge that turned out this well. Thank you for a fantastic recipe!”
Homemade Chocolate Fudge
Ingredients
Method
- Line an 8-inch square baking dish with parchment paper, leaving some overhang for easy removal.
- In a saucepan over medium heat, combine the chocolate chips, sweetened condensed milk, and butter. Stir continuously until the mixture is smooth and creamy, about 5 to 7 minutes.
- Once melted and combined, pour the mixture into the prepared baking dish and spread it evenly.
- If using, add nuts or sprinkle sea salt while the fudge is still warm, pressing them lightly into the surface.
- Refrigerate for at least 2 hours or until fully set. Lift out of the pan using the parchment paper.
- Once cooled, slice into squares and enjoy. Store leftovers in an airtight container at room temperature or refrigerate.
Notes
- Easy Lasagna Soup Recipe | Quick & Hearty 40-Minute Meal - January 13, 2026
- Authentic Greek Moussaka - January 5, 2026
- Strawberry Heaven on Earth Cake - January 4, 2026